As a Business Accouont you can add multiple "Artist Folders" to organize your work by artist. The Artist Folders will inherit the Default Settings from your Account Default Link Settings that you've entered on Step 2. You can also override the Link Settings for each Artist Folder so each Artist can have different link settings.
1. Create your first artist folder
2. Fill in the basic artist folder information
3. Fill in your social links for your artist profile
4. Click "Save"
5. Assign your custom Sub-Domain to your new Artist Folder
For a demonstration on how to set up artist folder settings, click on the video below.
1. Create your first artist folder
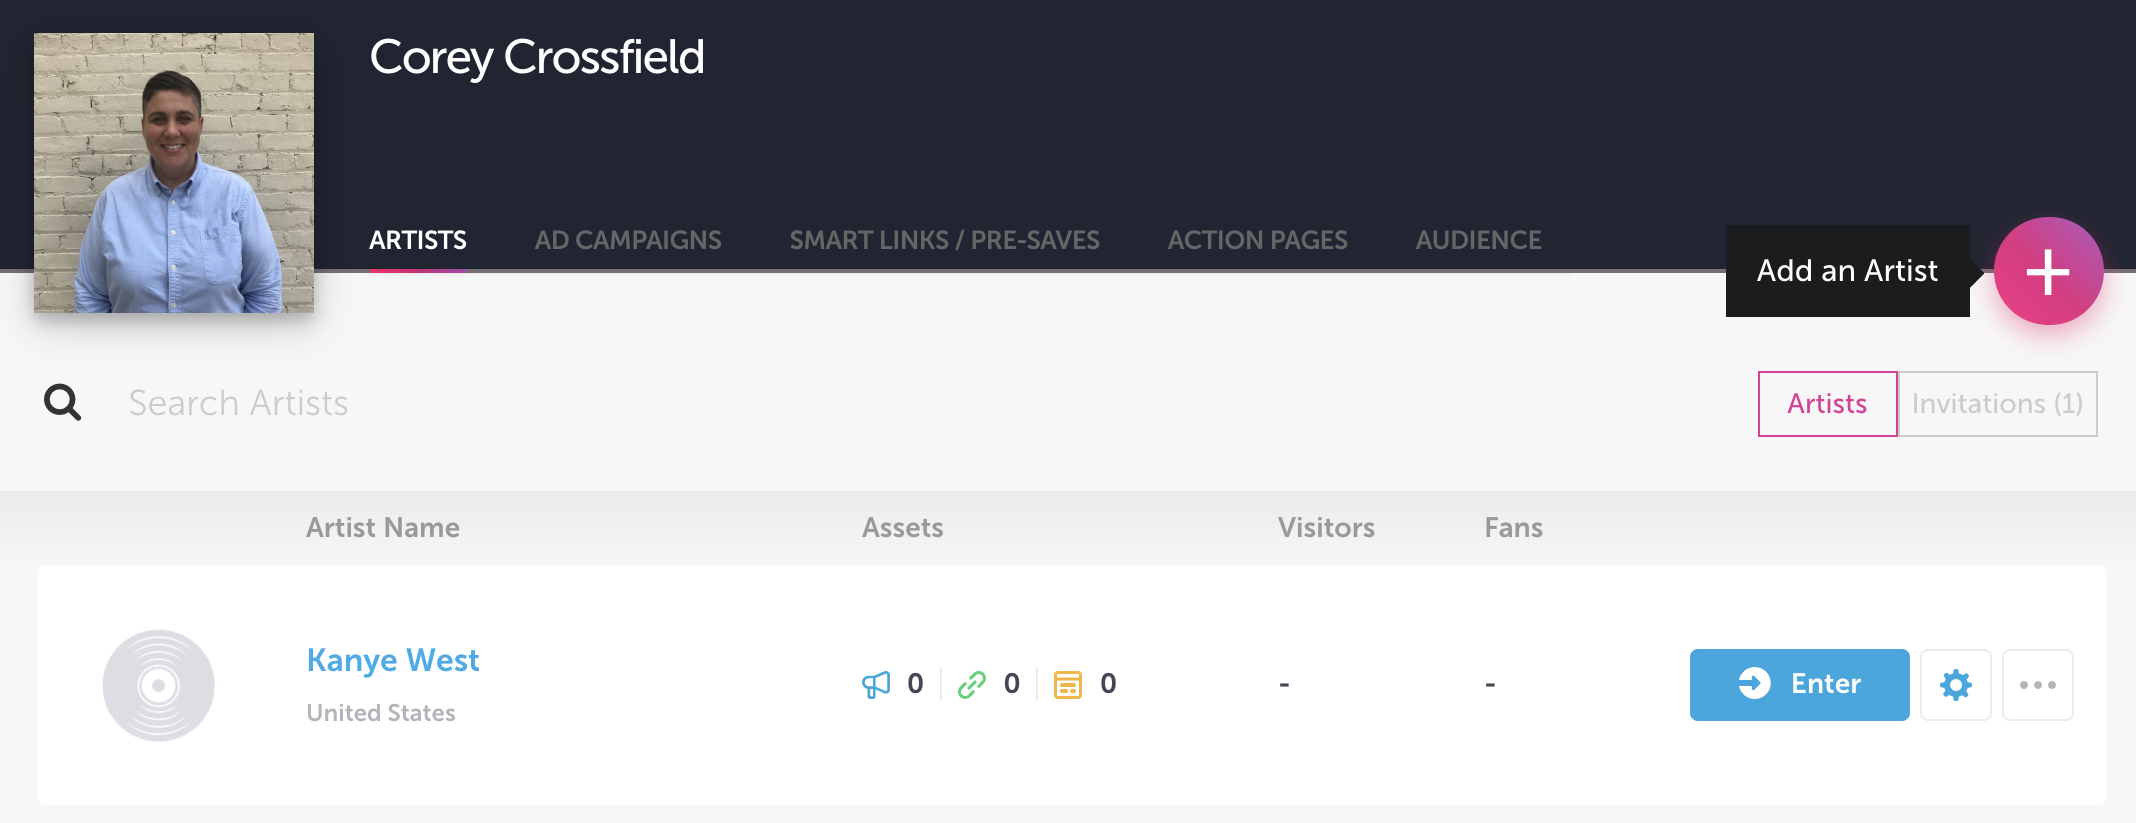
Create your first artist folder by selecting the + icon on the home page. This will allow you to organize your links by artists.

2. Fill in the basic artist folder information
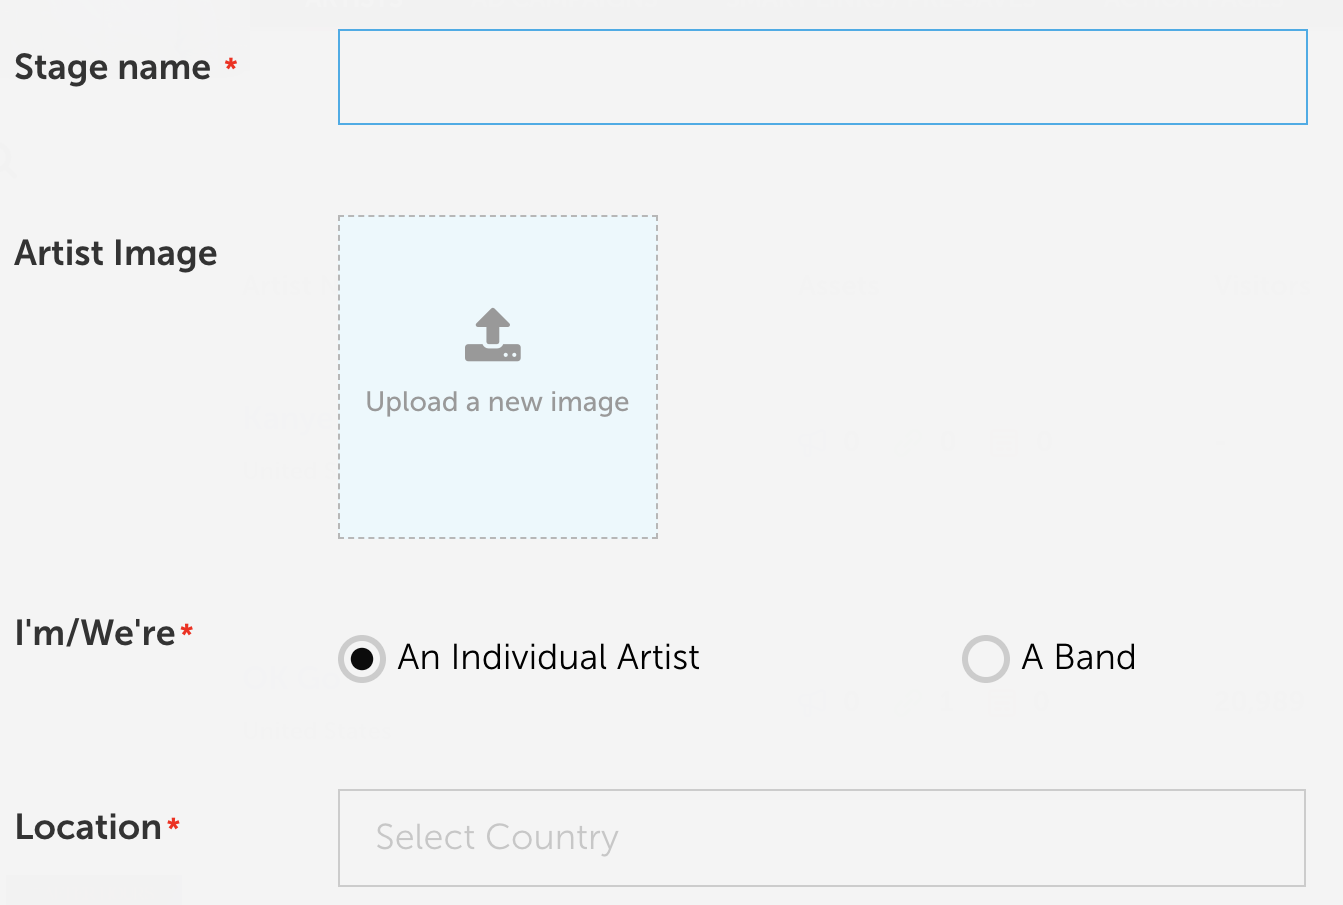
Enter in the artist name, upload a photo for the folder, and set the country for the artist.

3. Fill in your social links for your artist profile
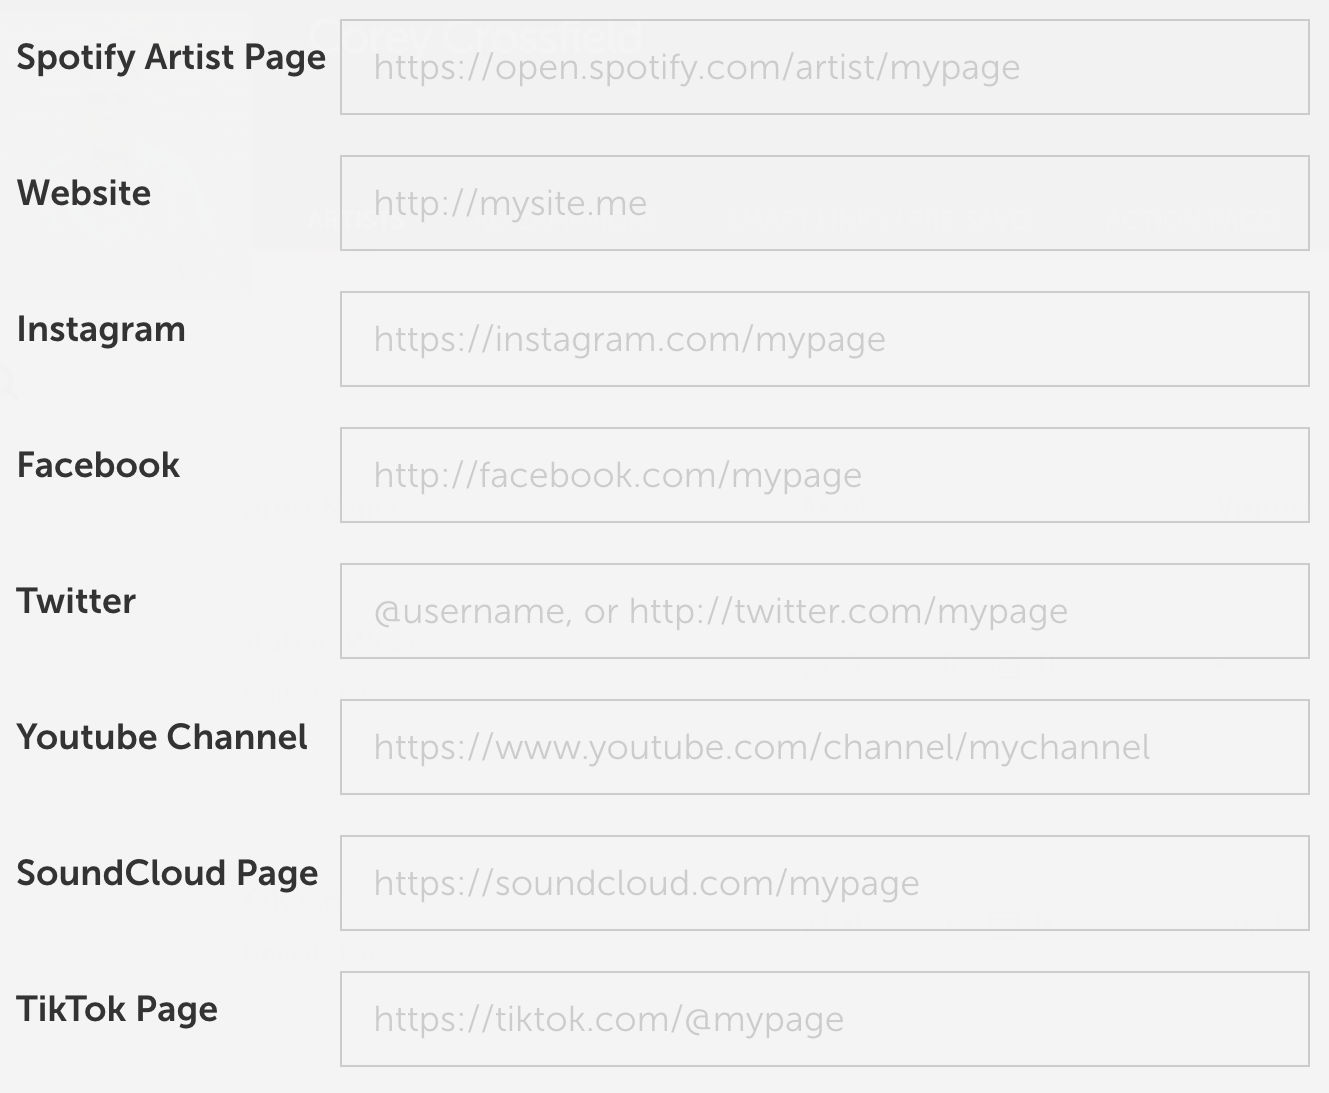
Make sure to fill in all the social links so you don’t have to enter them at a later date when you’re creating a link or action page.

4. Click "Save"
5. Assign your custom Sub-Domain to your new Artist Folder
After you save your new artist folder, you will be able to go back in to edit the Artist Link Settings. We'll start with assigning the Sub-Domain you created in Step 2.
Sub Domains can be assigned to Artist Folders so you can use them across any links you create under that Artist Folder. The Sub Domains assigned to Artists come from your Account Default Settings so you'll need to add the Sub Domain there first.
- Find the Artist Folder in your "Artists" Dashboard and click "Artist Settings"
- Toggle to "Link Settings"
- Find where it says "Sub Domains" and choose the Sub Domains you want to assign to this artist folder.


Now that you’ve filled out the artist folder settings, you're ready to go create your first link.